I've been wanting a computer station for the Batcave for some time. It's where I spend most of my time when I'm home. And if I'm on the forum it's usually when I'm in there (if I'm not on the iPad). I've shopped relentlessly online for an L-shaped, black, computer desk that I could live with that "fit" with the theme of the room. No dice, there's just nothing out there remotely close to what I wanted, was willing to pay, or fit in the space I had allocated, which was all the way to the right in the 3rd row facing the screen. I did manage to find one piece however that provided the inspiration to go the custom route. So once again it was time to break out my limited but sufficient carpentry skills. I felt pretty comfortable I could make something much better suited to the way I use the computer in the theater which is Internet browsing, ripping music and movies, printing photos, & light business related paperwork occasionally. So I went off to Lowe's for some material and a week and a half later this is what I came up with...
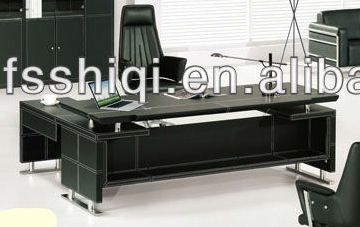
Here is a pic I found online that spawned what was eventually built...
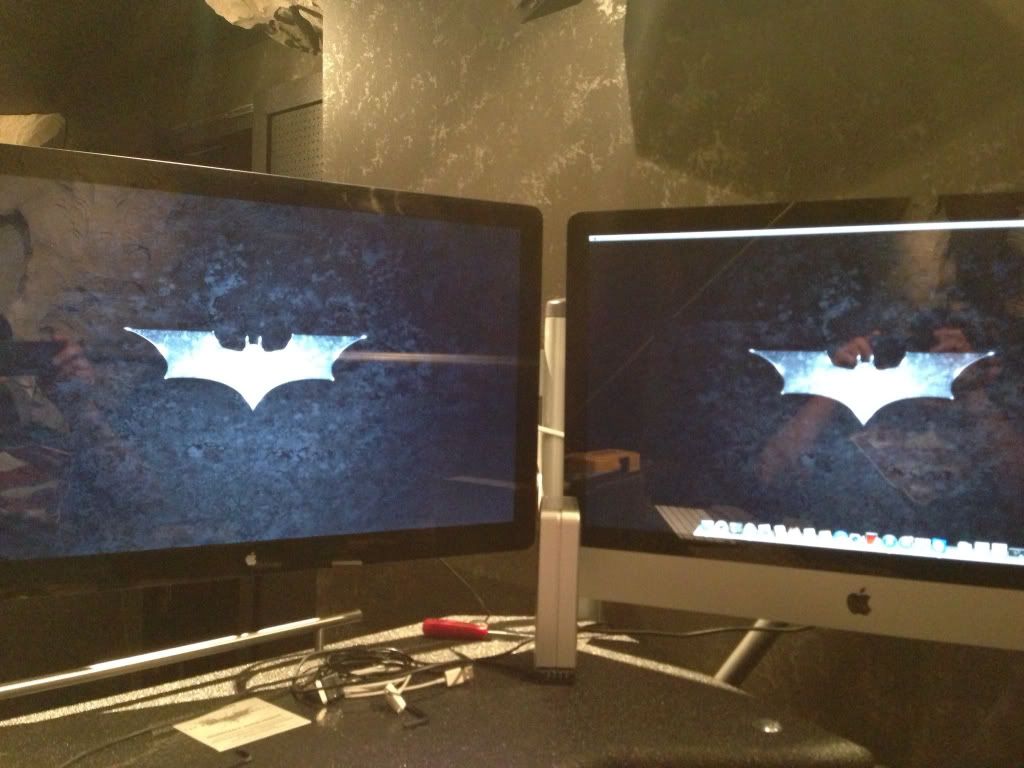
The desk would have to fit in an area I measured to be 70" wide by 52" long. It would also need to accomodate two monitors and a printer, and provide some desk space to set some things that I may be concentrating on at any given time. That's pretty much it in a nutshell.
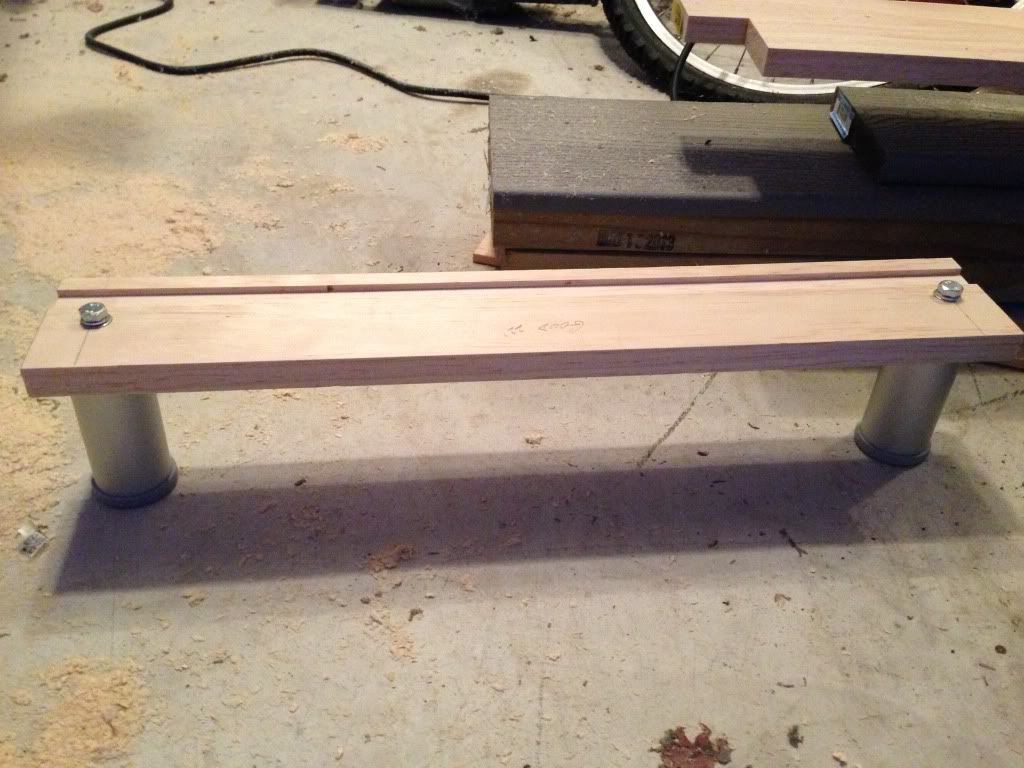
The first step I did was to track down some feet I knew I wanted to use to match the Ikea shelving units on either side of my HT rack. I really didn't feel like taking an hour long road trip to any of the Ikeas in my area just for those. And you can't order them directly from Ikea online without purchasing a piece of furniture they were designed for, as far as I could tell. So....eBay it was.") I got six of the feet I was after shipped for about $25 or so. I actually got these feet months ago knowing they would be used on whatever it was I built.
I got six of the feet I was after shipped for about $25 or so. I actually got these feet months ago knowing they would be used on whatever it was I built.
Next I got down to cutting, routing, screwing and glueing the many pieces of pine and oak I purchased. I designed and built the foundation of the desk first and this is the result. Doesn't look like much but I only needed three of these to build the entire unit upon. Although this piece of pine turned out perfect I wound up redoing this and the other two out of oak for added strength.
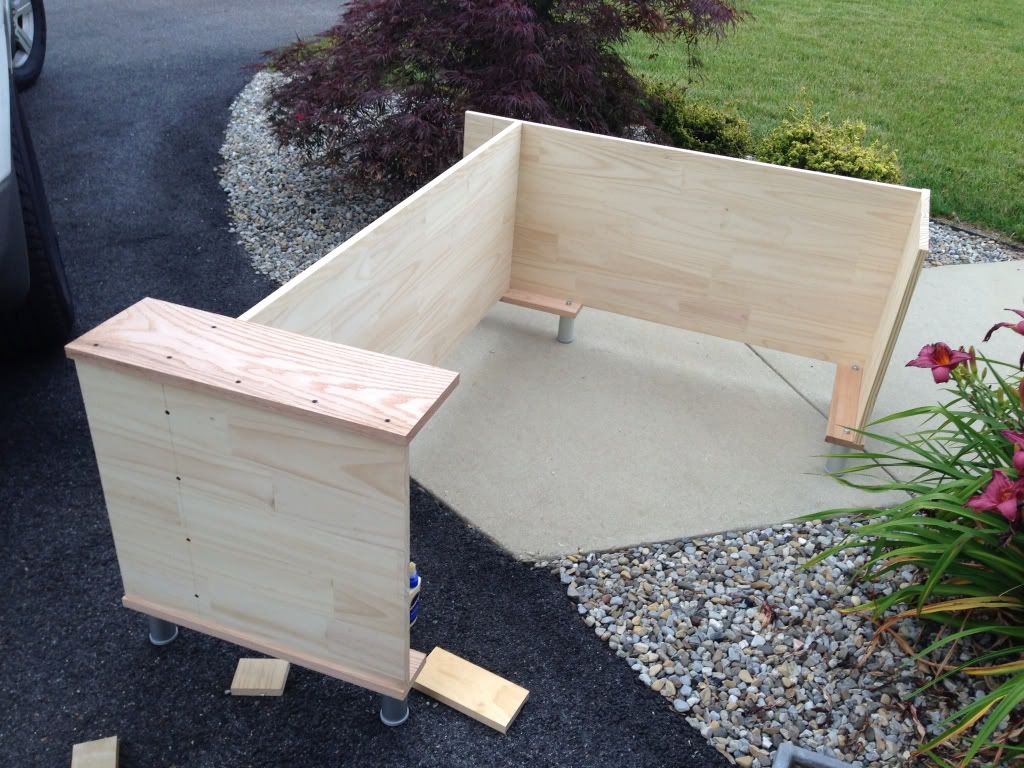
After building the feet, I joined two large pieces of pine to create my L shape and screwed and glued all the joints. Everything aligned within channels I routed in the boards. I also glued and screwed the feet into place.
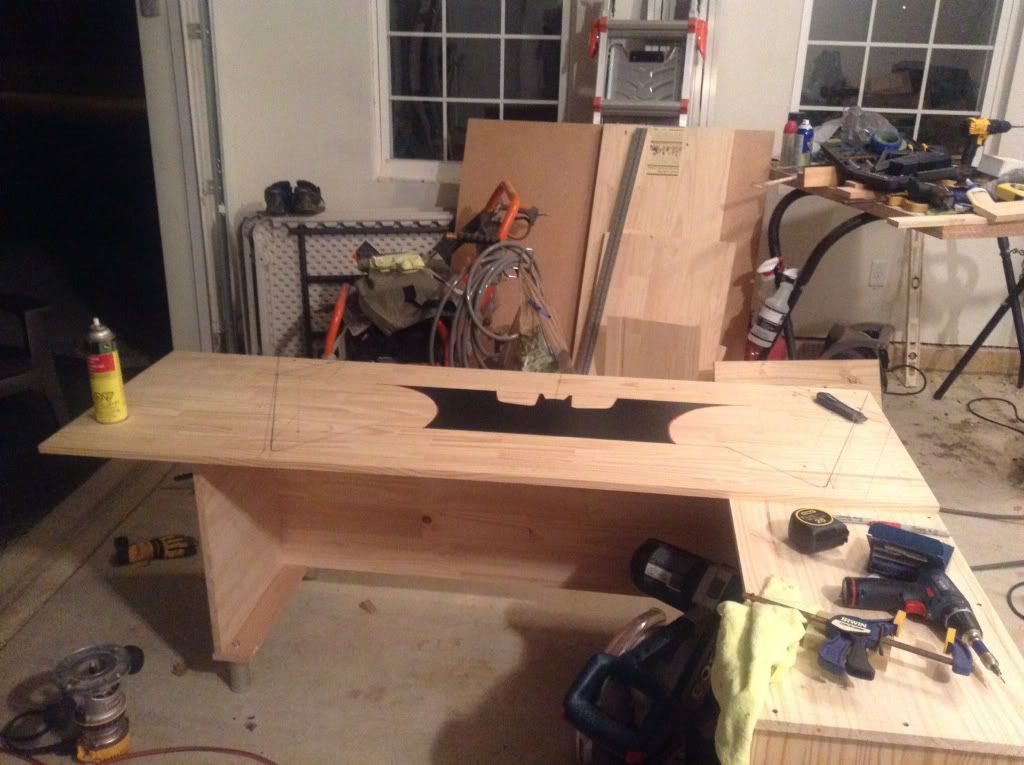
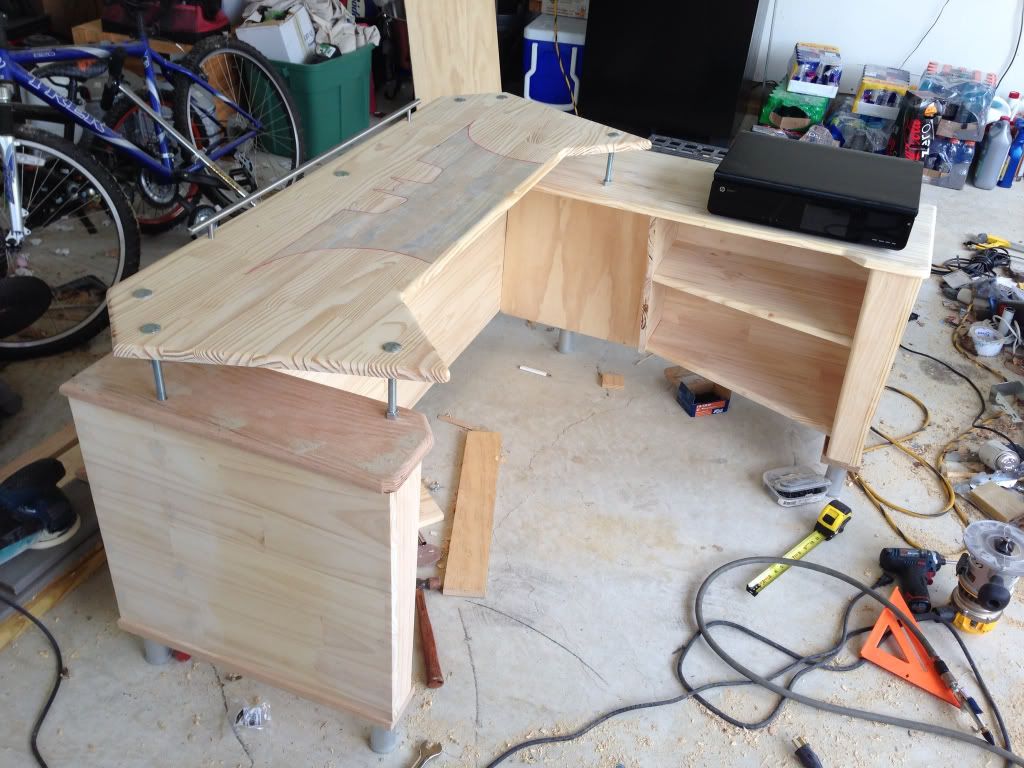
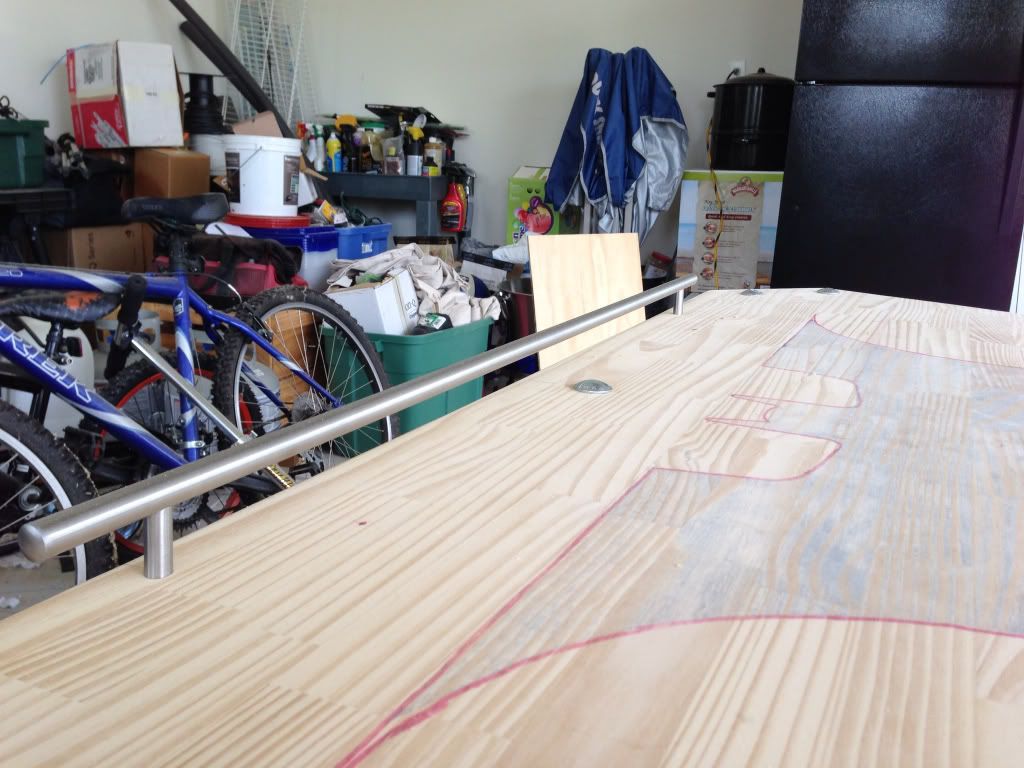
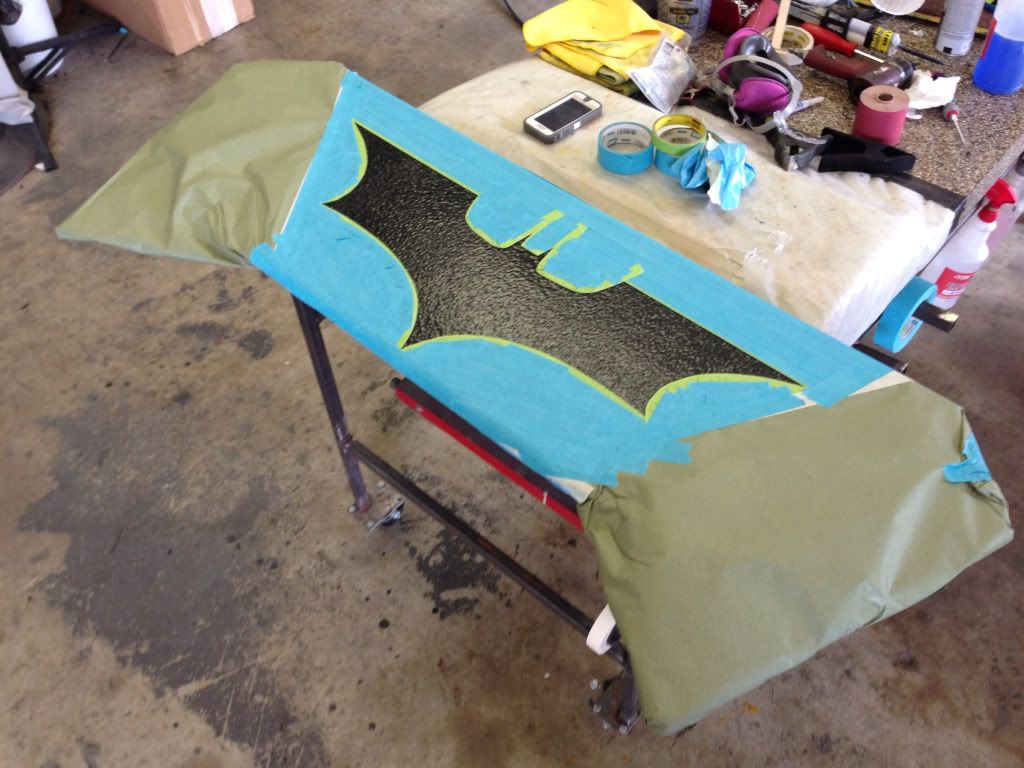
With the base of the unit underway, I started to concentrate on the size & shape of the top and I wanted it to revolve around the bat symbol in some way, so I mocked up a symbol and sprayed it. This helped me to finalize the length and depth and design some angles into the top...
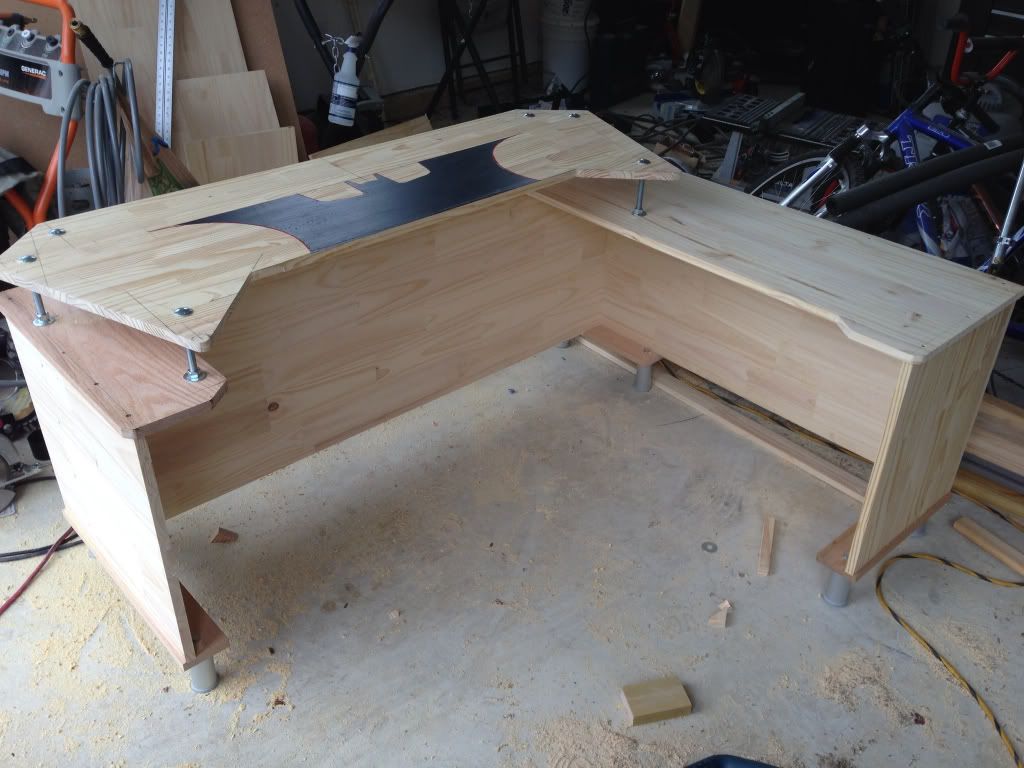
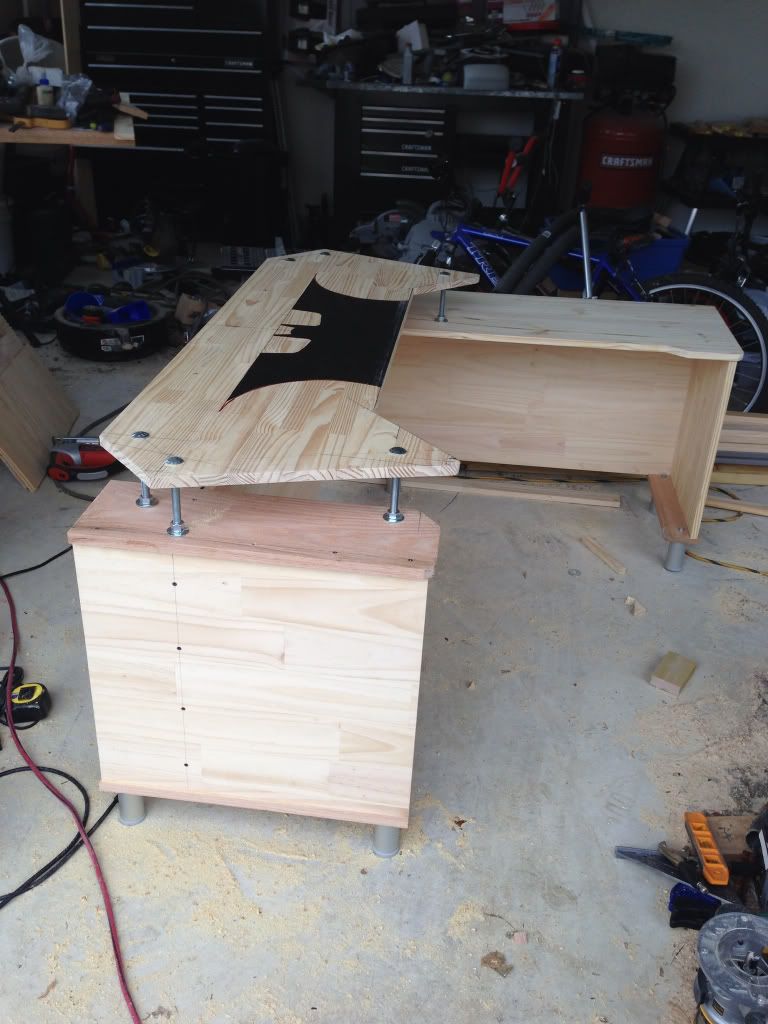
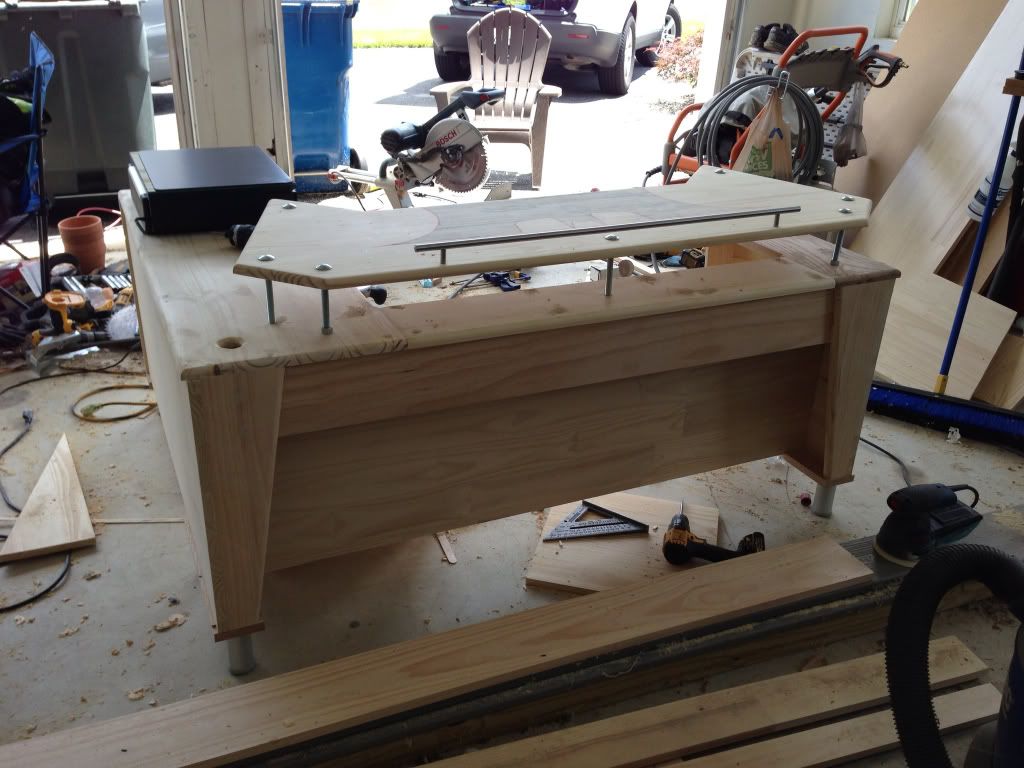
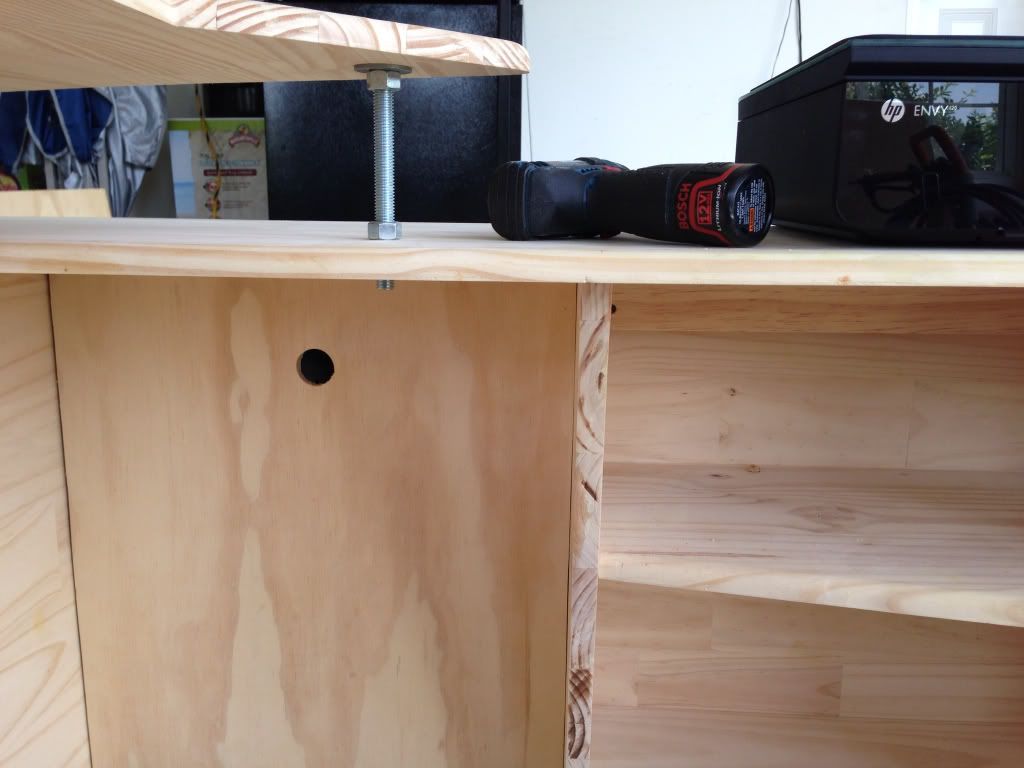
I lifted and fastened the top into place using 6" carriage bolts, nuts & washers. The end result was a fairly typical 30" height with a 26" side printer stand.
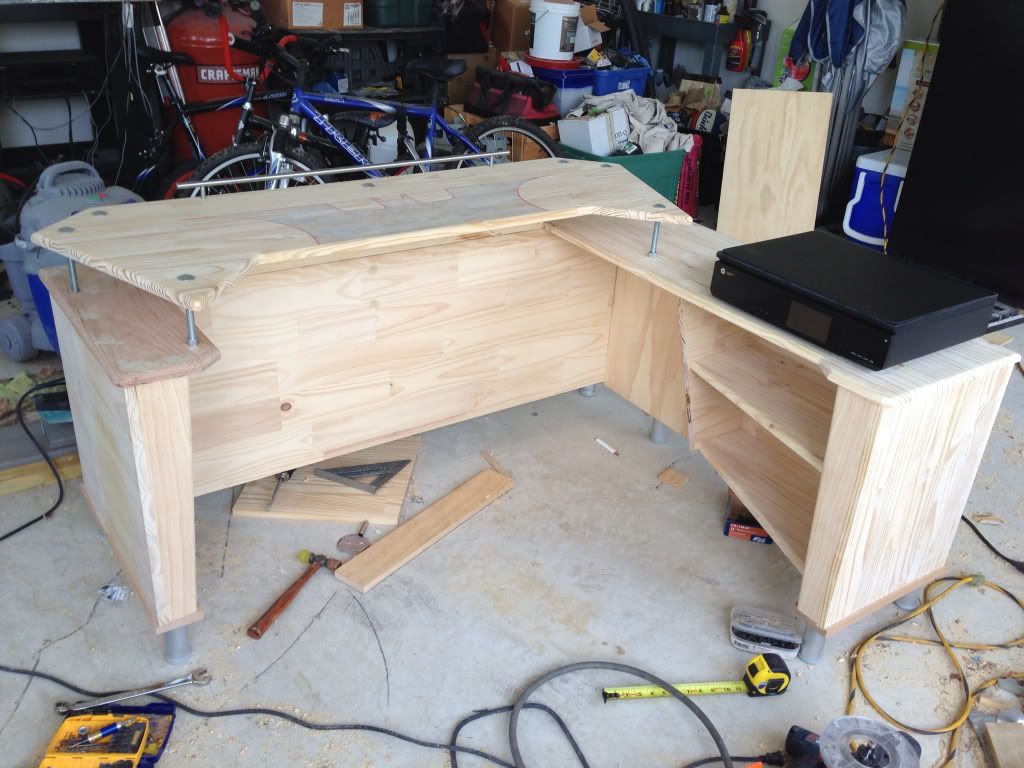
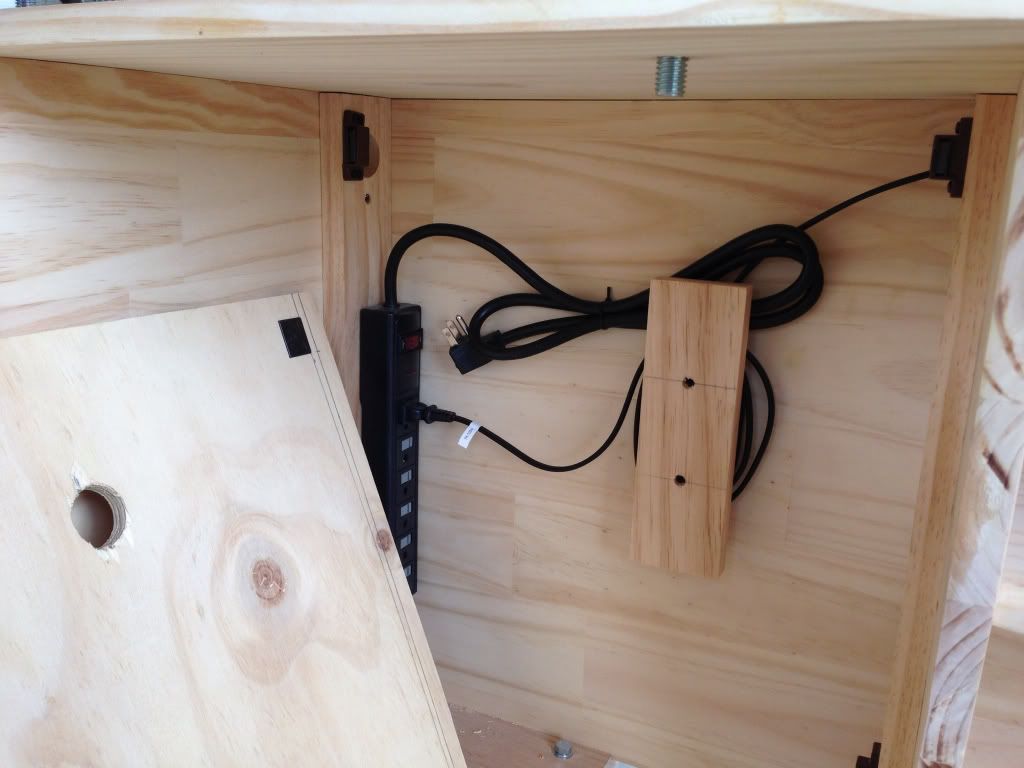
Next I beefed up the legs by adding some supports made out of pine, installed some shelving and decorative elements and installed some wire management and power strip. -B- and I also filled and sanded many screw holes and I rounded off the edges with a router and then sanded the whole thing with a palm sander.
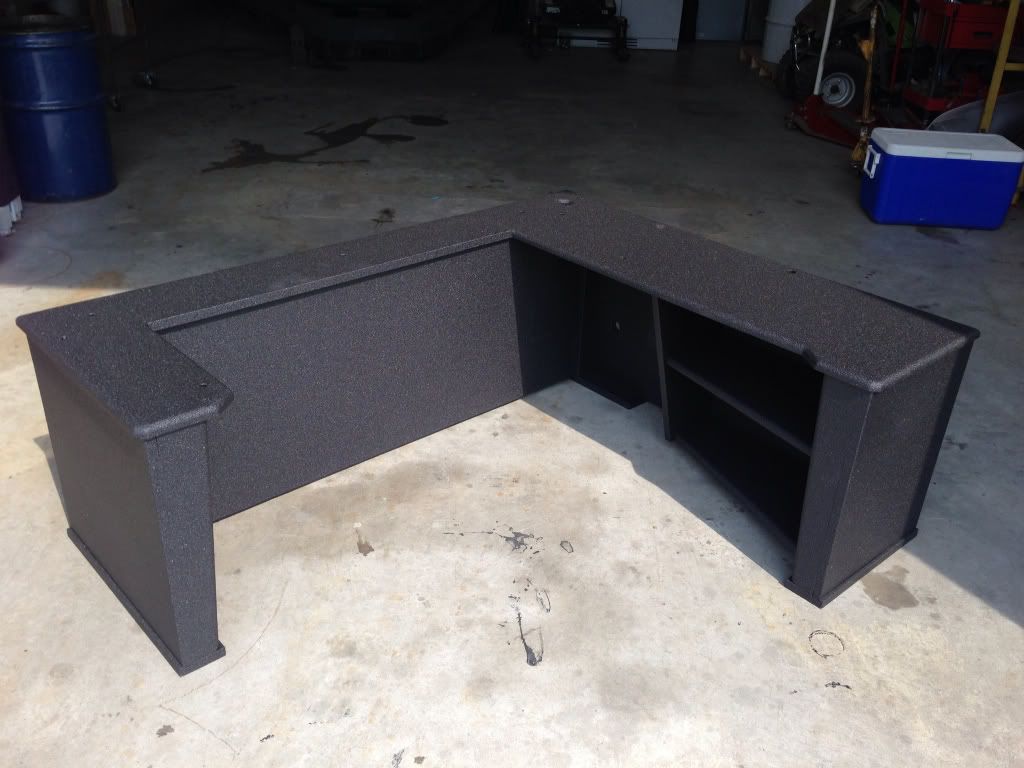
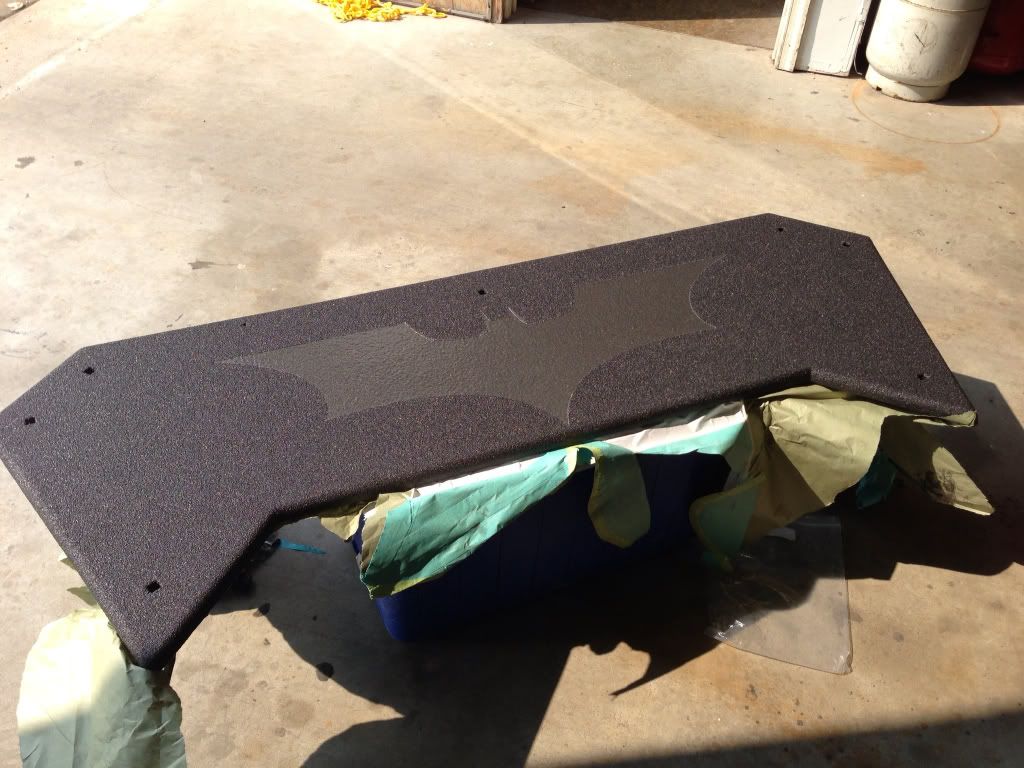
After finalizing the entire piece, I disassembled it, then -B- & I took all the pieces to the Line-X shop for coating. This eliminated the need for stain and tied the desk visually to the rest of the room by matching the trim throughout the rest of the theater. The end result was exactly what I hoped for.
The Bat logo was etched into the material with a process that utilizes a vinyl decal and then a subtle shade of charcoal grey with metallic was sprayed over the logo. I think it turned out pretty badass.
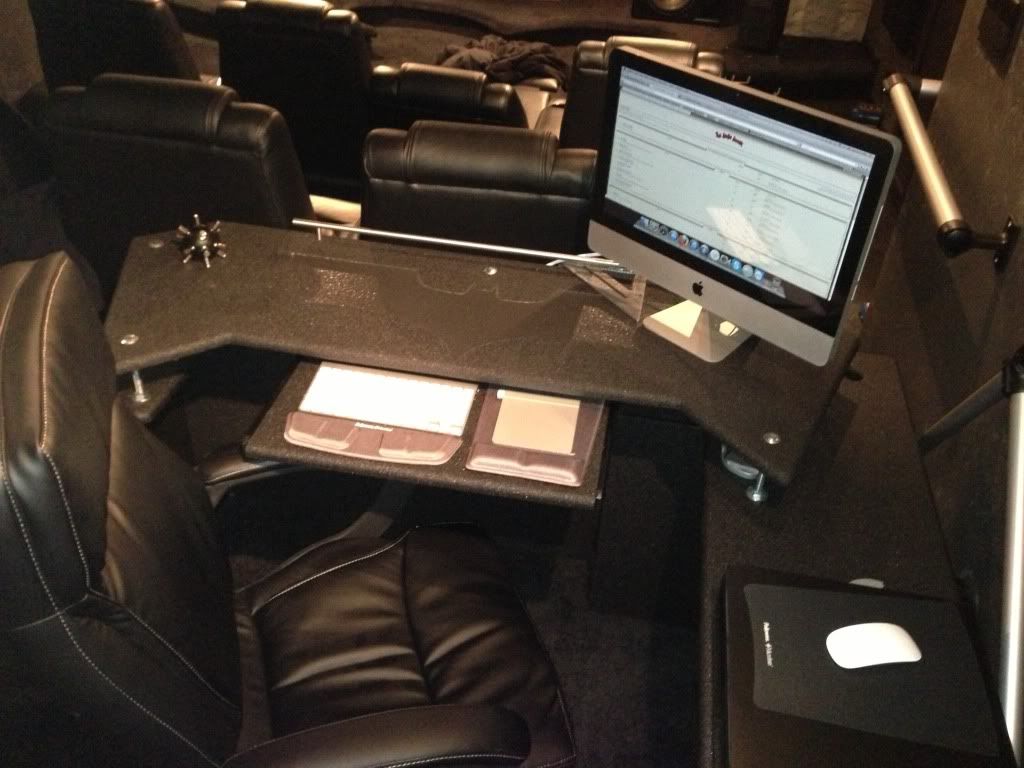
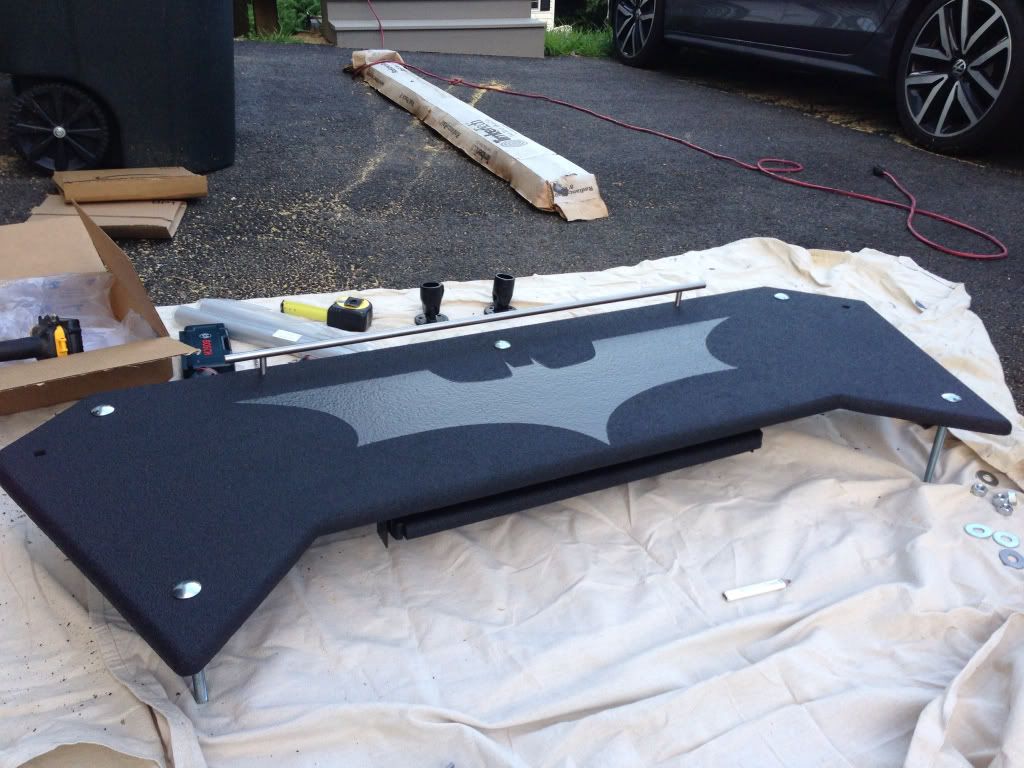
Once everything was home it was time for reassembly. Notice the keyboard tray now installed on the underside.

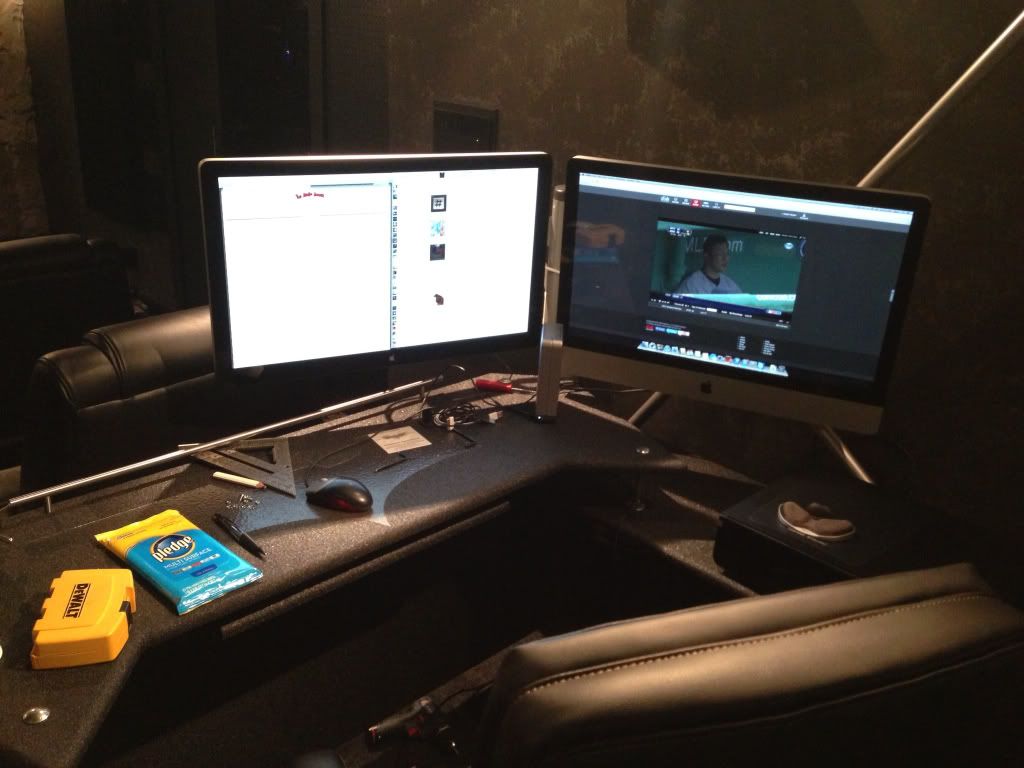
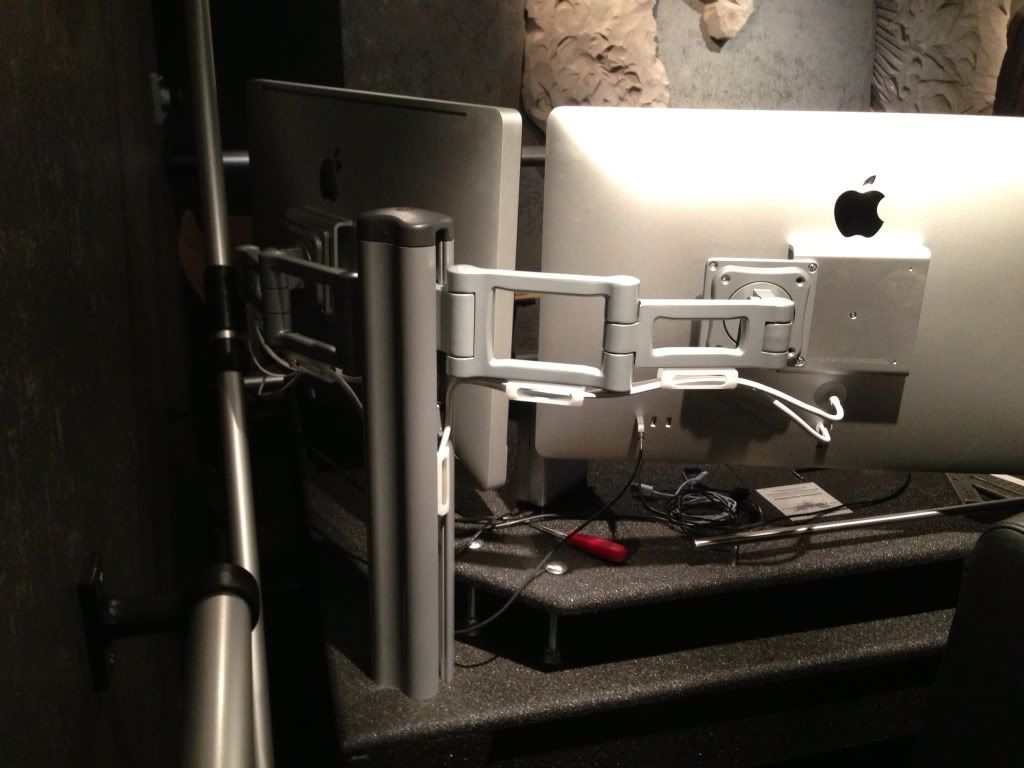
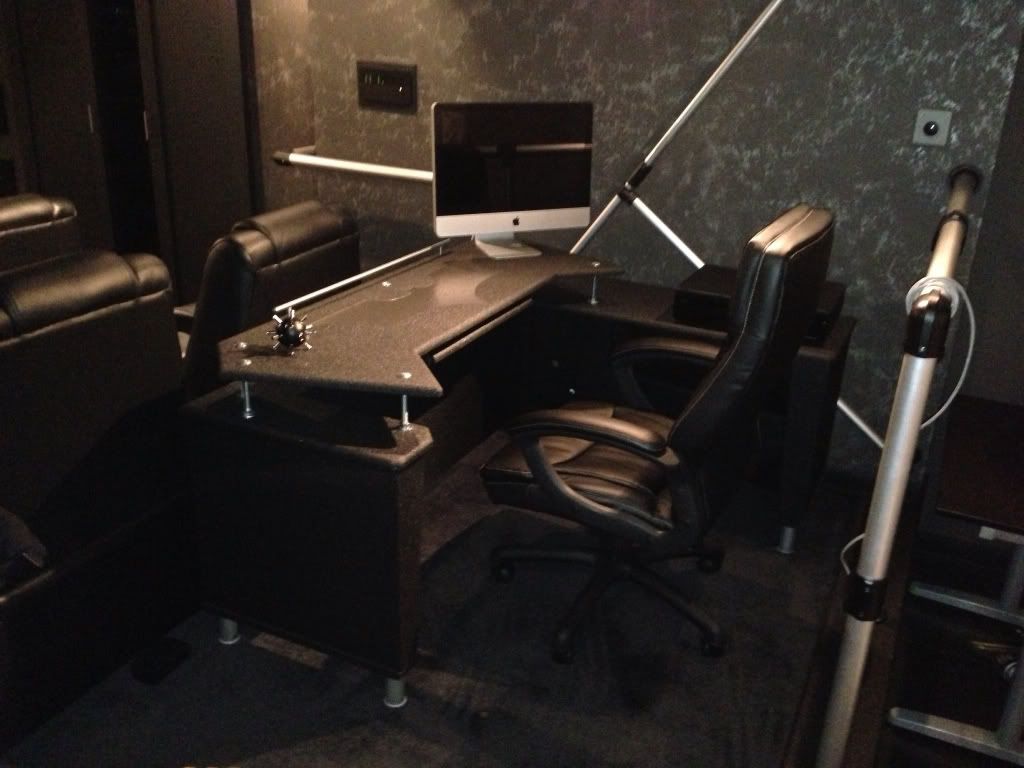
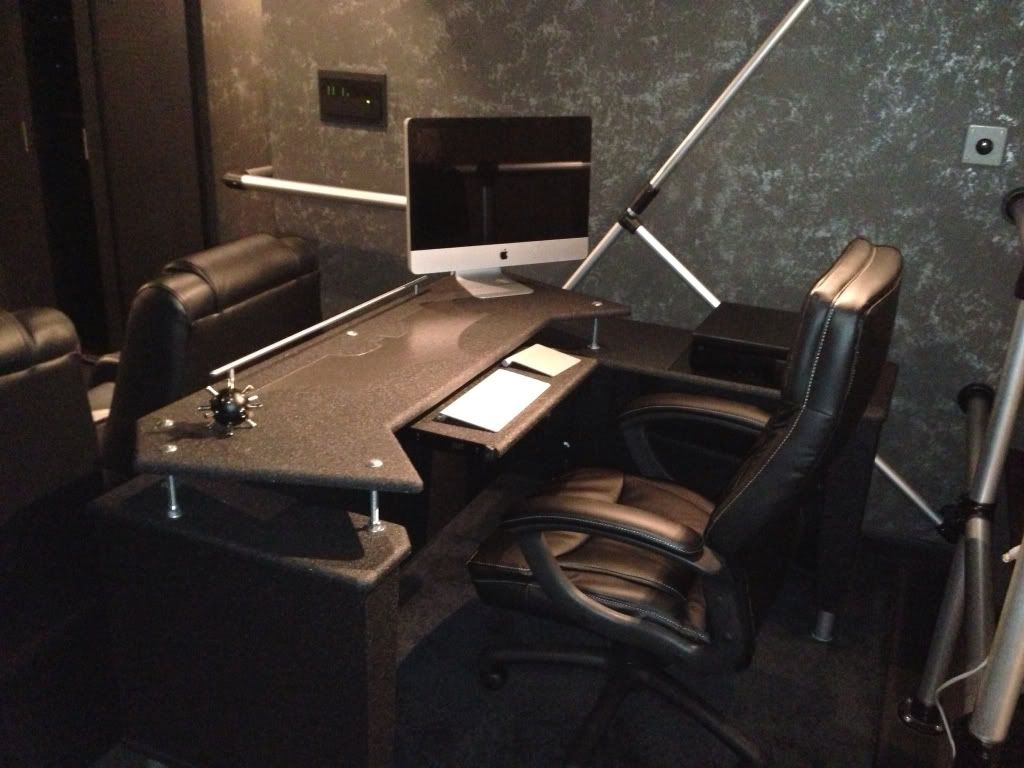
Here is the desk reassembled in place in the theater. I have to install the mount for my monitors and install a support bracket for the top. I couldn't be happier with the end result and proudly completed another Bat-project. Thanks -B- for helping me with the filling of holes, sanding, decision making, repair of goofs and carrying the thing around for the last several days!!
Here is a pic I found online that spawned what was eventually built...
The desk would have to fit in an area I measured to be 70" wide by 52" long. It would also need to accomodate two monitors and a printer, and provide some desk space to set some things that I may be concentrating on at any given time. That's pretty much it in a nutshell.
The first step I did was to track down some feet I knew I wanted to use to match the Ikea shelving units on either side of my HT rack. I really didn't feel like taking an hour long road trip to any of the Ikeas in my area just for those. And you can't order them directly from Ikea online without purchasing a piece of furniture they were designed for, as far as I could tell. So....eBay it was.
I got six of the feet I was after shipped for about $25 or so. I actually got these feet months ago knowing they would be used on whatever it was I built.Next I got down to cutting, routing, screwing and glueing the many pieces of pine and oak I purchased. I designed and built the foundation of the desk first and this is the result. Doesn't look like much but I only needed three of these to build the entire unit upon. Although this piece of pine turned out perfect I wound up redoing this and the other two out of oak for added strength.
After building the feet, I joined two large pieces of pine to create my L shape and screwed and glued all the joints. Everything aligned within channels I routed in the boards. I also glued and screwed the feet into place.
With the base of the unit underway, I started to concentrate on the size & shape of the top and I wanted it to revolve around the bat symbol in some way, so I mocked up a symbol and sprayed it. This helped me to finalize the length and depth and design some angles into the top...
I lifted and fastened the top into place using 6" carriage bolts, nuts & washers. The end result was a fairly typical 30" height with a 26" side printer stand.
Next I beefed up the legs by adding some supports made out of pine, installed some shelving and decorative elements and installed some wire management and power strip. -B- and I also filled and sanded many screw holes and I rounded off the edges with a router and then sanded the whole thing with a palm sander.
After finalizing the entire piece, I disassembled it, then -B- & I took all the pieces to the Line-X shop for coating. This eliminated the need for stain and tied the desk visually to the rest of the room by matching the trim throughout the rest of the theater. The end result was exactly what I hoped for.
The Bat logo was etched into the material with a process that utilizes a vinyl decal and then a subtle shade of charcoal grey with metallic was sprayed over the logo. I think it turned out pretty badass.
Once everything was home it was time for reassembly. Notice the keyboard tray now installed on the underside.
Here is the desk reassembled in place in the theater. I have to install the mount for my monitors and install a support bracket for the top. I couldn't be happier with the end result and proudly completed another Bat-project. Thanks -B- for helping me with the filling of holes, sanding, decision making, repair of goofs and carrying the thing around for the last several days!!