
You are using an out of date browser. It may not display this or other websites correctly.
You should upgrade or use an alternative browser.
You should upgrade or use an alternative browser.
Saldog's Basement Build Thread
- Thread starter saldog
- Start date


That was a fun but tedious project! I wish we could've had a little more time to relax in the basement and theater area, but we will next time! I did get a chance to check things out a bit, and in person the space is every bit as nice as the pictures show. It's really cozy, and Mike put a really nice system together. I can't answer questions about how things sound since we only lounged around chatting on Friday night while watching part of Iron Man 2 after channel surfing. But I was glad to be a part of a finishing touch and look forward to seeing pics of the bookcase after additional sanding & staining.
saldog
Active Member
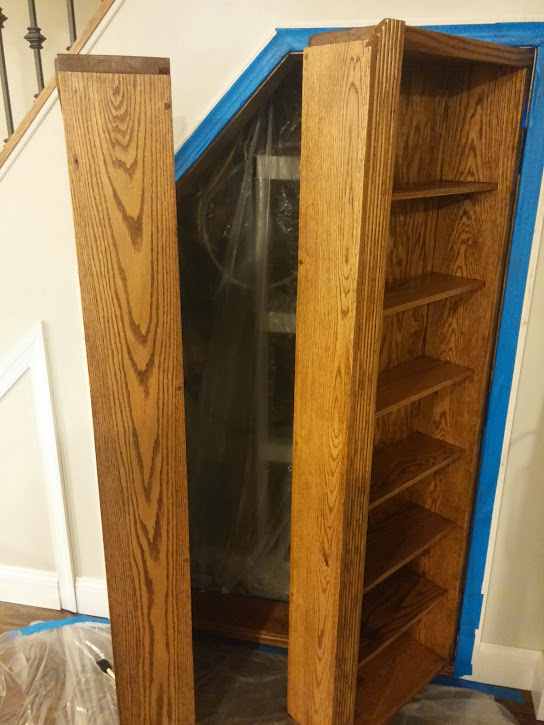
This evening i'm hoping to remove all pencil marks (i found a magic eraser works well for that), and fill any holes with wood putty. Then we can start sanding tomorrow.
Edit: I have to clean the garage out tonight, too... just a bit of sawdust in there :happy-smileygiantred:
Edit: I have to clean the garage out tonight, too... just a bit of sawdust in there :happy-smileygiantred:
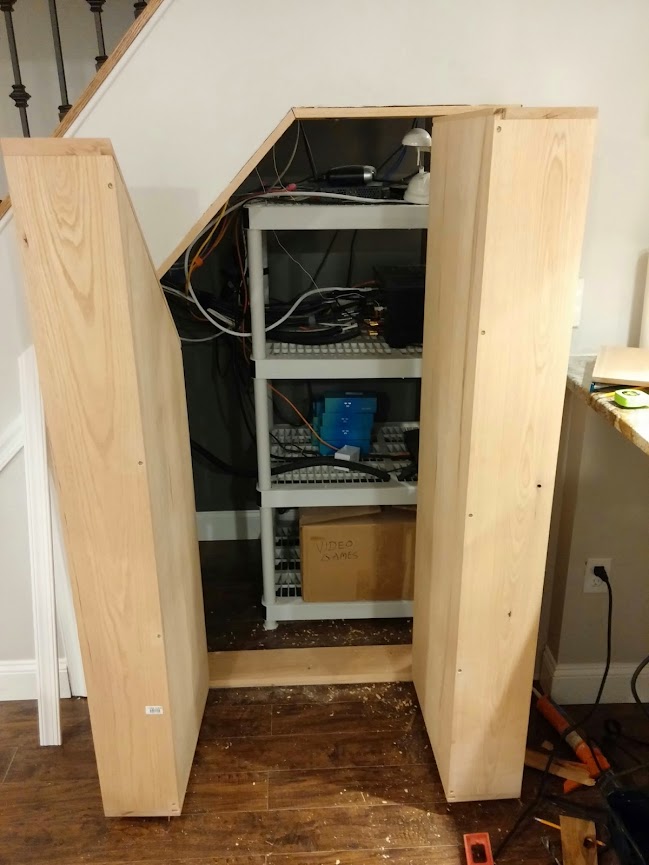
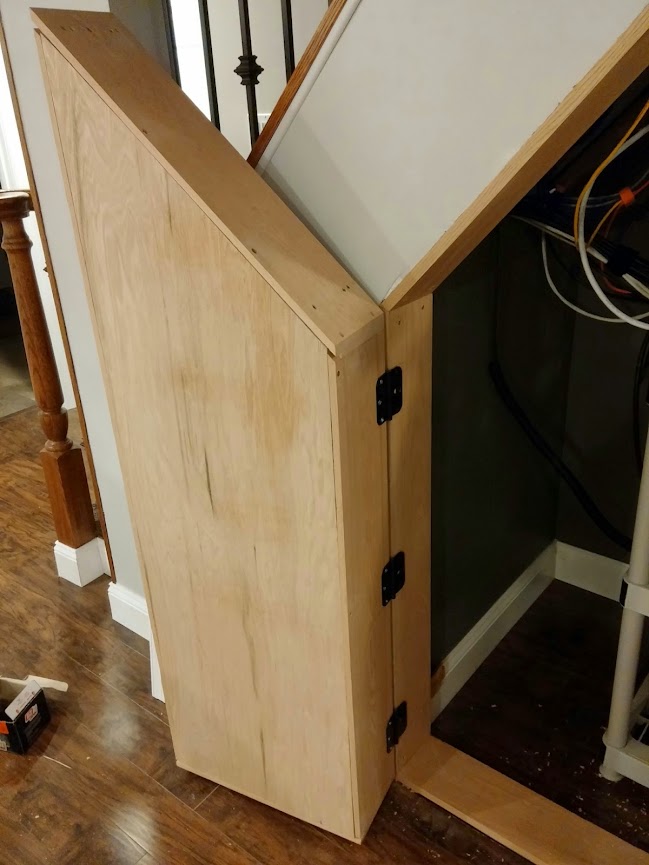
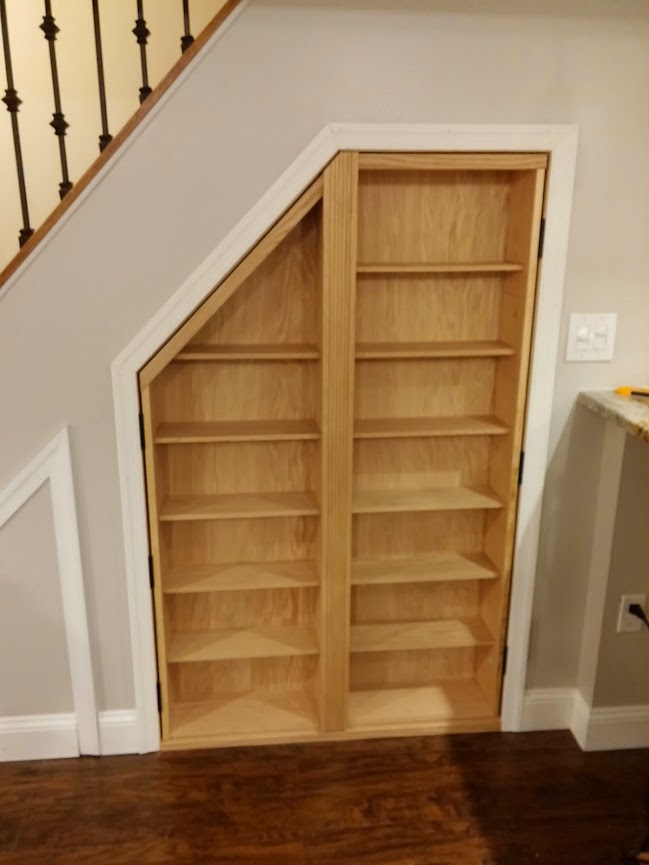
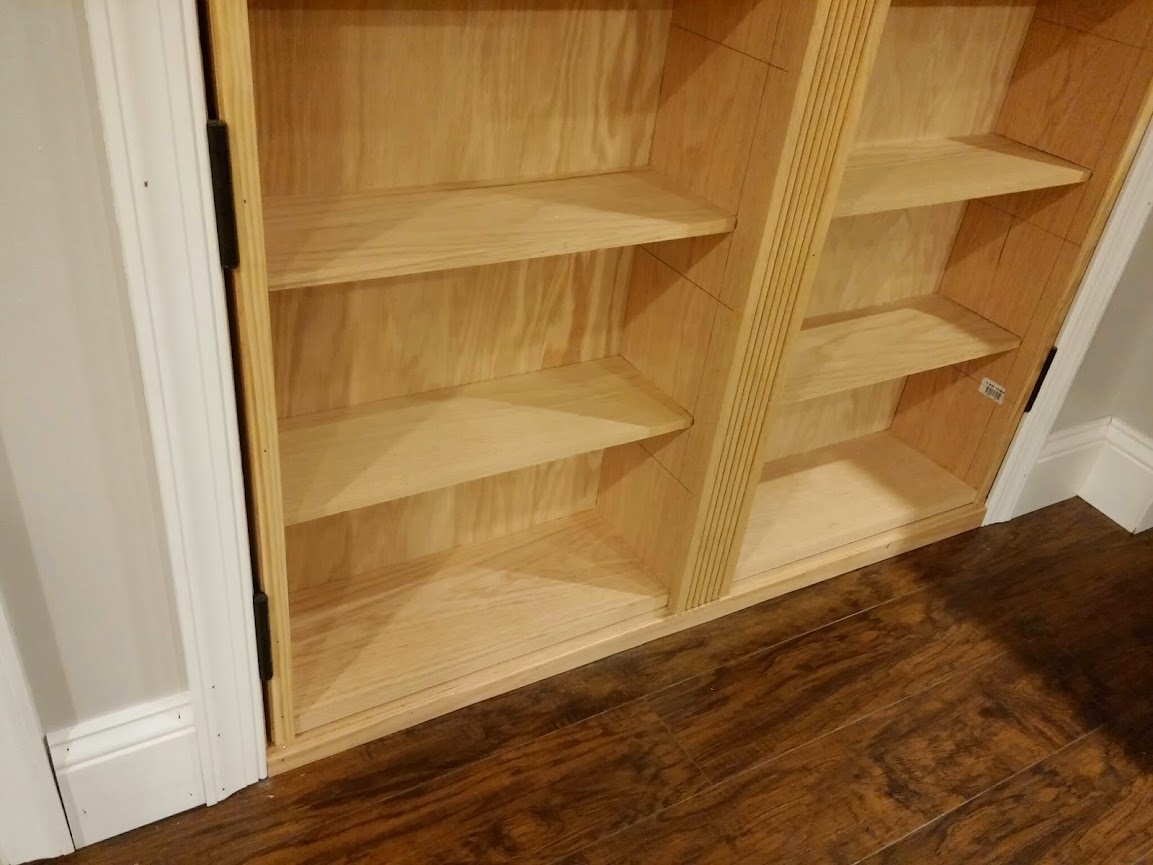
The most difficult and time consuming thing to deal with was getting the jambs in level, square and plumb. The wooden studs in the wall opening were twisted at the bottom and due to the basement floor the 2x4 plate on the floor wasn't level either. So a lot of shims were needed to get and keep things lined up. Another thing that posed an issue was that due to the limitations of my miter saw, we couldn't quite match the angle of the left bookshelf to the angle of the stairwell. I'm sure that professional carpenters have a trick I just don't know of. Since we didn't want to waste a lot of time on it, we got it as close as we could and adjusted the appearance of that angle with trim at the top of the bookshelf. Had I known before we built the jambs that we going to have that problem, I would've suggested changing the angle of the upper left jamb to 45° and we would've had a near flawless build. Mike and I worked really well collaborating on the construction of the unit. We were on the same page the whole weekend and when we weren't sure how to approach something we didn't butt heads and came up with solutions. Most of the steps to building this thing were time consuming but those two issues were the only "hiccups." For a couple guys that don't do this for a living, I'm pretty happy with the quality of construction we achieved. And at some point soon I'm ready to dive in with both feet into the next project, at home or otherwise.heeman said:Hey Chris,
Once again, nice job!
What were the biggest challenges?
What did you learn?
I love to ask these questions and hear the answers to help with up coming projects.
Thanks!
Thanks Chris!
Always interesting to hear about these things.
Renovation work is always so much harder than a blank slate!
You and Mike will be the only ones that will see that issue, unless you point it out to people.
That room is so nice and the functionality of those 2 swing doors, no one will ever notice.
Once again, great job to both of you!

saldog
Active Member
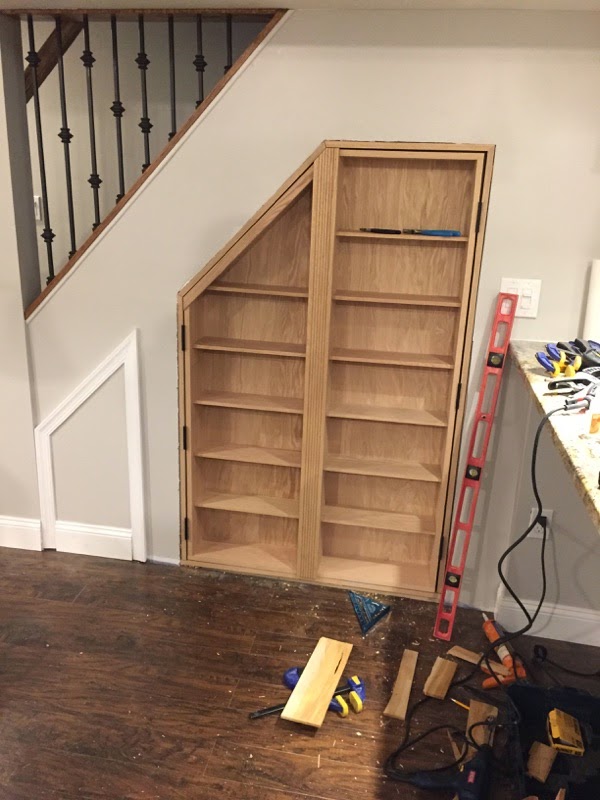
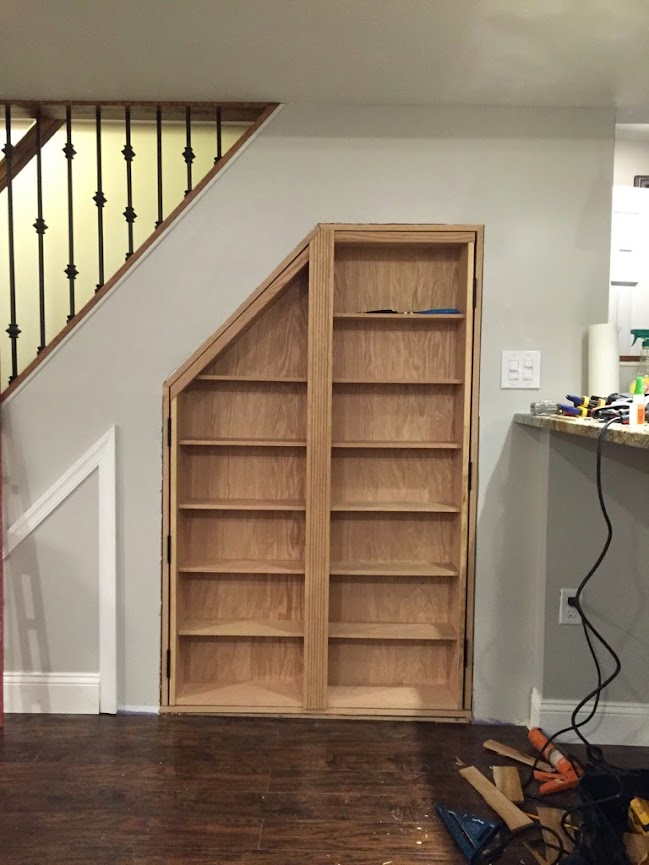
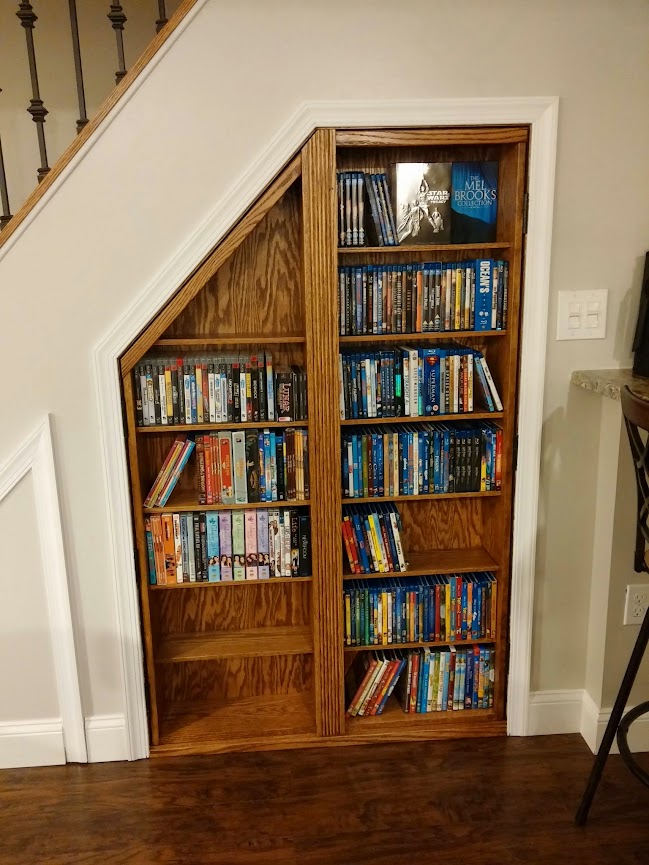
I forgot to post a picture. As you can see, we have some priming/painting to do of the white trim, but otherwise it's done and functional. The Mel Brooks Collection box is throwing me off as to where to put it, so i put the Star Wars DVD trilogy in front of it ")
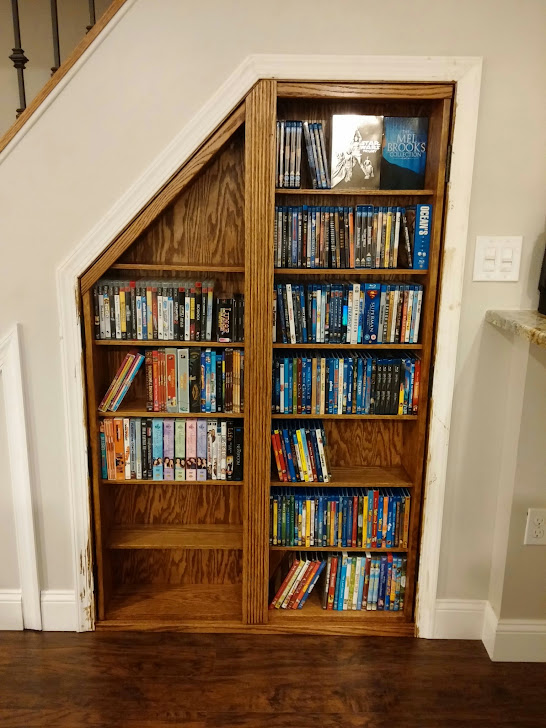
Also, my MIL made me a couple black velvet curtains for the theater windows. They don't photograph well (which is good, as they absorb all the light).

Also, my MIL made me a couple black velvet curtains for the theater windows. They don't photograph well (which is good, as they absorb all the light).
saldog
Active Member
Zing said:^Don't you mean "bat-ass"?
ba-ZING-a