• Welcome to The Audio Annex! If you have any trouble logging in or signing up, please contact 'admin - at - theaudioannex.com'. Enjoy!
  • HTTPS (secure web browser connection) has been enabled - just add "https://" to the start of the URL in your address bar, e.g. "https://theaudioannex.com/forum/"
  • Congratulations! If you're seeing this notice, it means you're connected to the new server. Go ahead and post as usual, enjoy!
  • I've just upgraded the forum software to Xenforo 2.0. Please let me know if you have any problems with it. I'm still working on installing styles... coming soon.

HTIP - Home Theater In Progress

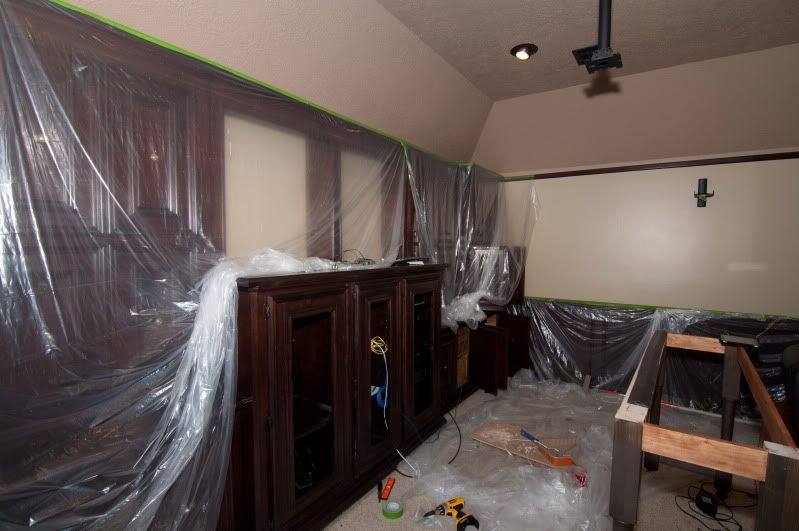
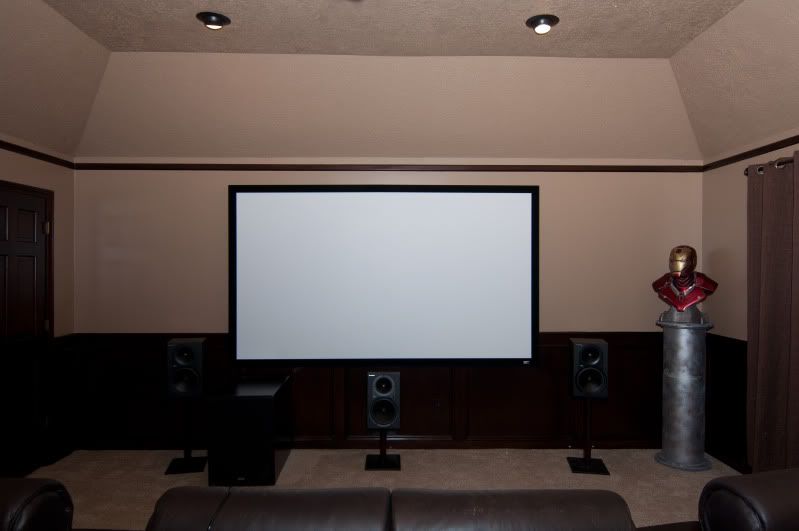
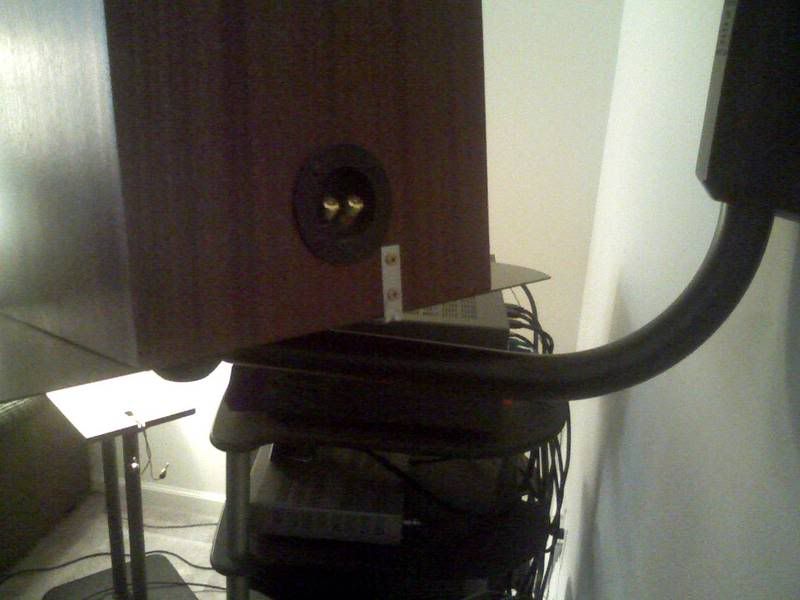
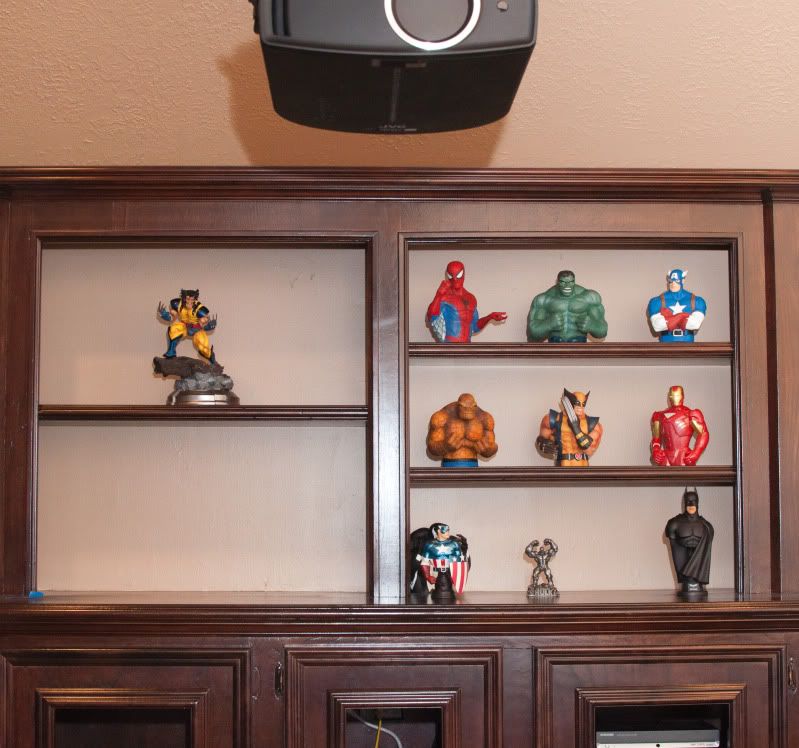
By request, here are a couple of wide angle shots of the room. The right surround speaker is only mounted temporarily. I found a long velcro strap and am seeing how well it holds the speaker. It appears to work. After I paint I'll try using the wedges from some mopads to angle the speaker down a little more. Speaking of paint... In the second pic below you can see that the once white ceiling is brown. That same brown will be going on the walls and behind the rear shelves.

Please excuse the mess. As the title of the thread says, this is a work in progress..

March15-8.jpg


March15-9.jpg
 
I got a couple more things checked off of the to-do list.

The paint is finally finished... mostly. I still need to touch-up around the openings for the shelves.

The projector's in wall wiring is in place... but not connected to the pre/pro yet (nothing is). because of the length of the HDMI cable I went with a 22AWG cable which is stiff. Because of that I had to use a right angle HDMI adapter to keep the cable as close to the pj as possible. I guess it looks okay but I wish it was a little cleaner.

March17-5.jpg
 
Since moving the sub to the front-left side of the screen, the right corner looked empty. I added this guy to help fill the space.

March17.jpg


The life sized, battle damaged bust needed a pedestal so I tried my hand at building one myself. I bought a 12" diameter concrete forming tube from Home Depot. It was a little tall so I used the table saw to cut it down to 40". I cut four 12" discs from 3/4" MDF to attach inside the top and bottom of the tube for strength, two at the top and two at the bottom. Then a larger disc for the top and bottom got glued on. A few screws and glue to attach the tube to the supports and a trim ring to cover the screw heads. I thought it would be neat to try to spray paint the cardboard tube to look like metal but painted cardboard just wouldn't have the right look. I slathered on some bondo body-filler and sanded it down to try to get the texture of rusting metal. A coat of grey primer and a few spots of red, green, and black all got covered with metallic silver. A Stark Industries sticker from eBay was attached and then a good coat of clear satin sealer went over everything. Here are the results. I hope you like it.

March17-6.jpg


March17-4.jpg


March17-2.jpg
 
That place looks fantastic T! I'm envious as hell! I have a question though: what are you doing with that Adcom in the rack if you have powered speakers?
 
The amp is in the rack because I have it and it fits. I have to put it somewhere, right?

Clearly I'm not using it now but I may want to go with passive speakers at some point in the future. If I need additional rack space than I'll move it to a closet or something.
 
Get a robot arm that sprays people and we'll have to have a back-to-back, Iron Man vs Batman HT GTG contest!
 
I'm not competing with Batman. His HT is on an entirely different level. I can't wait to be back there in July.

I've just always been a fan of comics and comic art. I thought it would be fun to have something like that to make the room a place to just hang out.
 
a good way to keep your speakers on those mounts without a strap is something like this. If they line up correctly in the back a simple L bracket will do. assuming you don't mind a small hole or two in the back of your speaker

PIC-0100.jpg
 
-B- said:
a good way to keep your speakers on those mounts without a strap is something like this. If they line up correctly in the back a simple L bracket will do. assuming you don't mind a small hole or two in the back of your speaker.

The back of the Mackie HR824s is covered by the amp, which covers the passive radiator. The only screwing surface is the 3/4" of cabinet at the base.
 
Amazing job on that pedestal!! I can't wait to see it and the rest of the room someday!
 
Thanks!

One more snapshot before I go to bed. A view of the back shelves.

March17-7.jpg
 
That bust+pedestal is very cool, nice job! Do its eyes glow? ;)
 
PaulyT said:
That bust+pedestal is very cool, nice job! Do its eyes glow? ;)

They do. It can be battery powered or plugged in.

Crazy story. When I got it I installed the batteries that were included to test it. It worked so I put it back in the box until the room was ready to display it. When I took it back out I found that one of the supplied batteries leaked and ruined the battery compartment. The plug still works though. The maker (Sideshow Collectibles) is willing to replace it... BUT... I'll have to ship this one back and then wait until another one is available. That could be a few days or a few months, they cant tell me. It took about a month for mine to arrive after I pre-ordered it.
 
Back
Top